
A storm tears off part of your roof, a pipe bursts while you are at work, or a kitchen fire leaves a room blackened and smelling of smoke. In that moment, the last thing you want to think about is paperwork, but the steps you take in the first hours and days can shape how smoothly your claim goes. This guide explains how to file home insurance claim paperwork and handle the process step by step, from the first phone call to the final repair check, so you know what to expect and what to avoid. Every amount here is a range or an illustration, because deductibles, limits, and repair costs vary widely by policy, state, and damage type. This is general educational information, not personal financial or legal advice for your specific claim.
One reassuring fact up front: you do not need to have everything perfect before you call your insurer. You need to be safe, to protect the home from further damage where you reasonably can, and to start a paper trail. The rest, estimates, inspections, and negotiations, happens over days and weeks, not minutes. Take it one step at a time, and keep notes on everything.
What to Do Right After Damage: Safety First
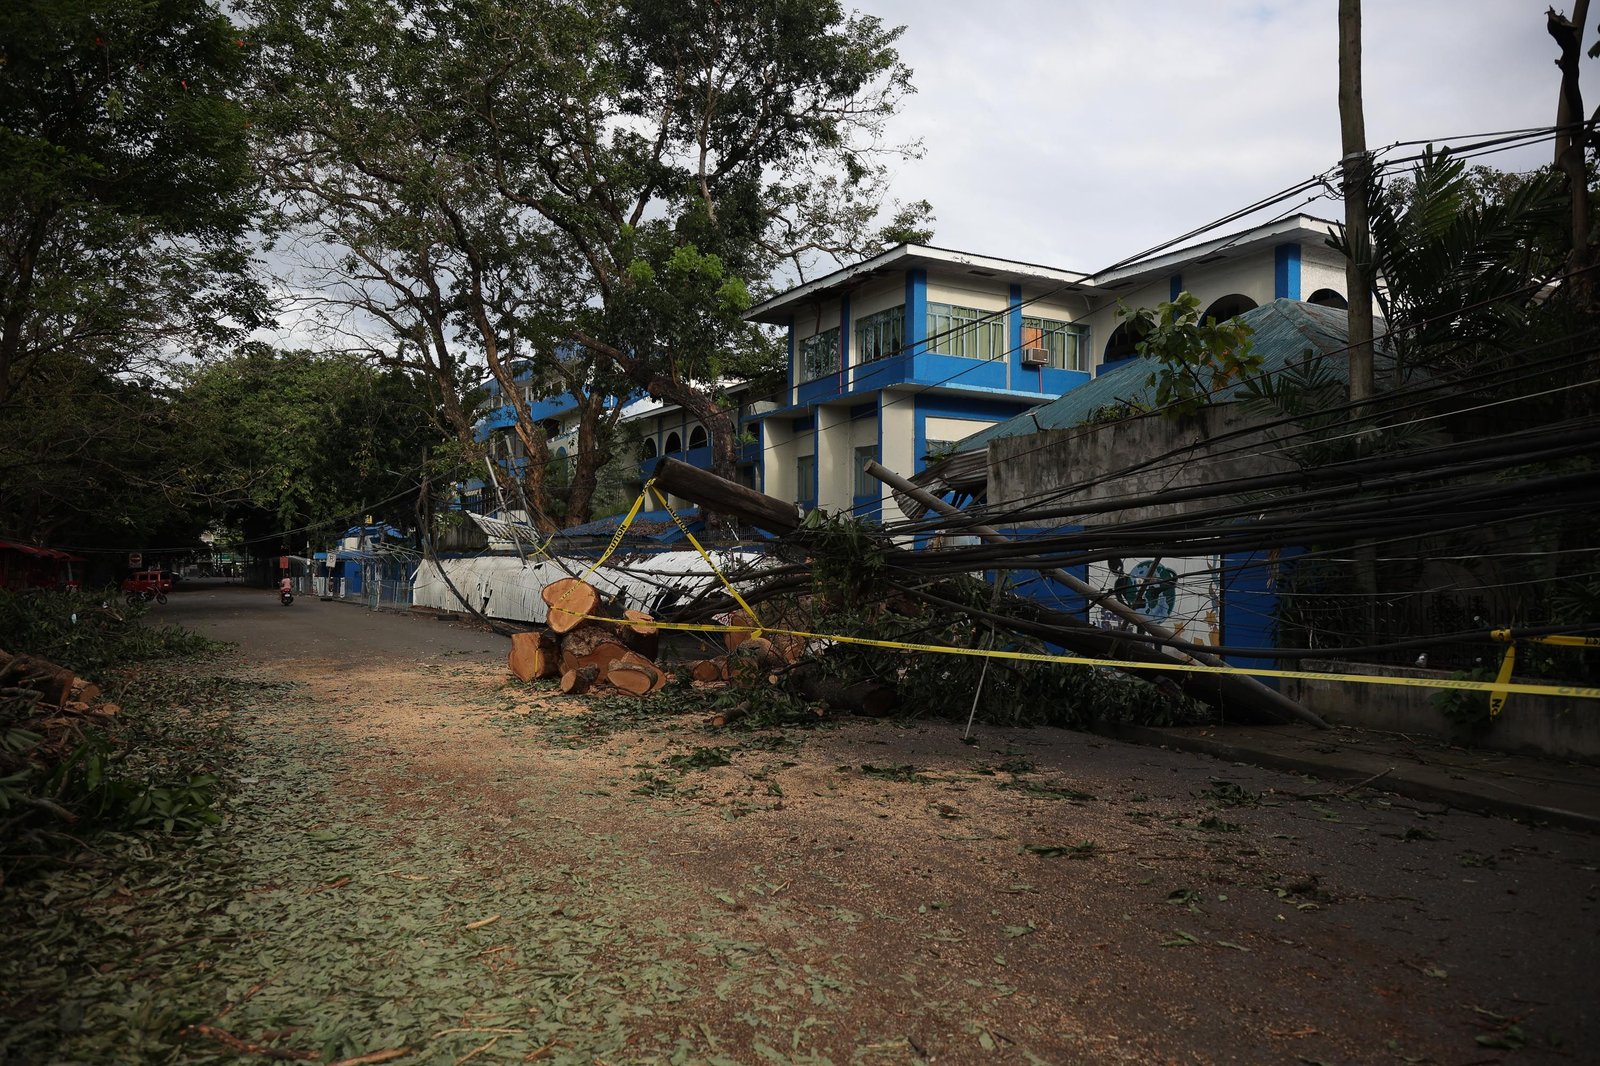
Before anything else, make sure everyone is safe. If there is a gas smell, sparking wiring, a collapsed ceiling, or standing water near electrical outlets, get out and call emergency services. Do not walk through floodwater, which can hide debris, open drains, and electrical hazards, and do not climb onto a damaged roof to inspect it yourself. A claim is never worth an injury, and insurers understand that safety comes first.
Once it is safe to be in or near the home, turn off the water supply if a pipe has burst, and switch off power to affected areas if you can do so safely from a dry location. If a window is broken or part of the roof is open, cover the opening with a tarp or boards if you can do it without climbing into danger. These are temporary, common-sense steps, and they matter for your claim too, because most policies require you to take reasonable steps to prevent further damage. A small leak that becomes a soaked house because nobody turned off the water is a much harder claim to explain.
As an illustration, not a real family, consider homeowners who come home to a burst washing machine hose and an inch of water across the laundry room and hallway. The useful first moves are: turn off the water at the main valve, move rugs and valuables out of the wet area, take photos of the water line and the failed hose, and call the insurer the same day. They do not need to rip out flooring that night or hire a contractor at midnight. Safety, stopping the source, and documentation are enough for day one.
Call the police if the damage involves a break-in, vandalism, or theft, and get a report number. Insurers commonly ask for it, and it strengthens the record. For storm or fire damage, a local news report or weather record is not required, but noting the date, time, and what happened while it is fresh helps enormously later, when the adjuster asks for a timeline and your memory has faded.
Documenting Damage With Photos and an Inventory
Documentation is the single most valuable thing you can do for your claim, and it costs nothing but time. Before you clean up, move, or throw anything away, photograph and video everything. Walk through each damaged room slowly, filming wide shots first, then close-ups of specific damage: the hole in the roof, the warped floorboards, the stained ceiling, the broken window, the ruined sofa. Narrate as you film if you like, describing what you see and when it happened.
Photograph the source of the damage too, not just the result. A burst pipe, a fallen tree limb on the roof, a scorched outlet, or a failed appliance hose all help the adjuster understand the cause, which is what determines whether the loss is covered. Take photos from several angles, and include something for scale where it helps, like a ruler or a familiar object. Date-stamped photos from your phone are ideal, and backing them up to cloud storage protects them if the phone itself is damaged later.
Next, make a room-by-room inventory of damaged or destroyed items. For each item, note what it is, roughly when you bought it, what you paid if you remember, and its current condition. Receipts, order emails, credit card statements, and photos from before the damage, even casual family photos showing the room, all help establish what you owned. You do not need a perfect inventory on day one. Start with the big items, furniture, appliances, electronics, and add smaller things as you go through the cleanup.
Keep damaged items until the adjuster has seen them, unless they are a health hazard, like soaked mattresses or spoiled food, in which case photograph them thoroughly first and note why they were discarded. Throwing everything away before the inspection is one of the most common and most avoidable claim mistakes, because once an item is gone, its condition becomes your word against a blank file.
Temporary Repairs and Safety: Protect, Do Not Rebuild Yet
After documenting the damage, your next job is to stop it from getting worse. Insurers call this mitigation, and most policies require it. That usually means practical, temporary steps: tarping a damaged roof section, boarding a broken window, shutting off water to a burst pipe, running fans or a dehumidifier in a wet room, or moving undamaged belongings away from the affected area. Keep receipts for everything you buy for these steps, tarps, boards, fans, even a hotel stay if the home is uninhabitable, because mitigation costs are often reimbursable within your policy limits, and temporary living costs may fall under additional living expenses coverage if your policy includes it.
What mitigation does not mean is starting permanent repairs before the adjuster has seen the damage. Replacing a roof, tearing out all the drywall, or rebuilding a room before inspection can make it impossible for the insurer to verify what happened, and that can reduce or jeopardize the claim. If something must be removed for safety, like a collapsed ceiling section, photograph it first from several angles, keep a sample or a piece if you safely can, and note why it had to go. Emergency work to make the home safe is expected; a full remodel before inspection is not.
Be cautious with contractors who appear at your door right after a storm offering to handle everything, including talking to your insurer for you. Some are legitimate local businesses, but storm-chasing outfits with high-pressure tactics, demands for full payment up front, or requests to sign over your claim rights deserve skepticism. Get more than one opinion, check licenses and reviews, and never sign an assignment of benefits or a contingency contract without understanding exactly what rights you are giving away. Your insurer, your state insurance department, and local consumer protection offices can all help you check whether a contractor is reputable.
Contacting Your Insurer: How to Start the Claim
Most insurers let you start a claim by phone, through an app, or online, and sooner is generally better. Policies often require prompt notice, and while a delay of a few days after a major storm is usually understandable, waiting weeks without a reason can complicate things. When you call, have your policy number, the date and cause of the damage, a brief description of what happened, and your documentation ready. You will be given a claim number. Write it down, along with the name of every person you speak with and the date of each conversation.
During that first contact, ask direct questions and note the answers: What is my deductible for this type of loss? Is there a separate wind, hail, or hurricane deductible that applies? What is my coverage limit for the dwelling and for personal property? Is additional living expense coverage included, and what does it cover? What should I do, and not do, while waiting for the adjuster? The answers shape your next steps, and having them in writing avoids misunderstandings later.
After the claim is opened, the insurer typically assigns an adjuster, who may be an employee of the company or an independent adjuster working on its behalf. You will usually get a call within a few business days, though after a widespread disaster it can take longer. If you have not heard back within the timeframe the insurer promised, call and ask for a status update, referencing your claim number. Polite persistence is not just acceptable here, it is often necessary, because large events create backlogs and files do occasionally stall.
Deductible and Coverage Limits: What You Actually Pay
Your deductible is the amount you pay out of pocket before insurance starts paying on a covered loss. If your deductible is $1,000 and the covered repair cost is $12,000, the insurer generally pays $11,000 and you cover the first $1,000, subject to your policy terms. Deductibles vary widely, commonly in the range of $500 to $2,500 for standard policies, with percentage deductibles, often 1% to 5% of the dwelling coverage amount, applying to wind or hurricane losses in some coastal states. A percentage deductible on a $300,000 dwelling limit can mean $3,000 to $15,000 out of pocket, which surprises many homeowners, so check which type applies to your loss before you assume a flat figure.
Coverage limits matter just as much. Your dwelling limit is the maximum the policy pays to repair or rebuild the structure, your personal property limit covers belongings, often set as a percentage of the dwelling limit, and additional living expenses coverage has its own limit and time frame. If repair costs exceed a limit, the difference is yours. This is why underinsurance hurts most exactly when you need coverage most. Reviewing limits once a year, especially after renovations or major purchases, is a habit that pays for itself, though it cannot help a claim already in progress.
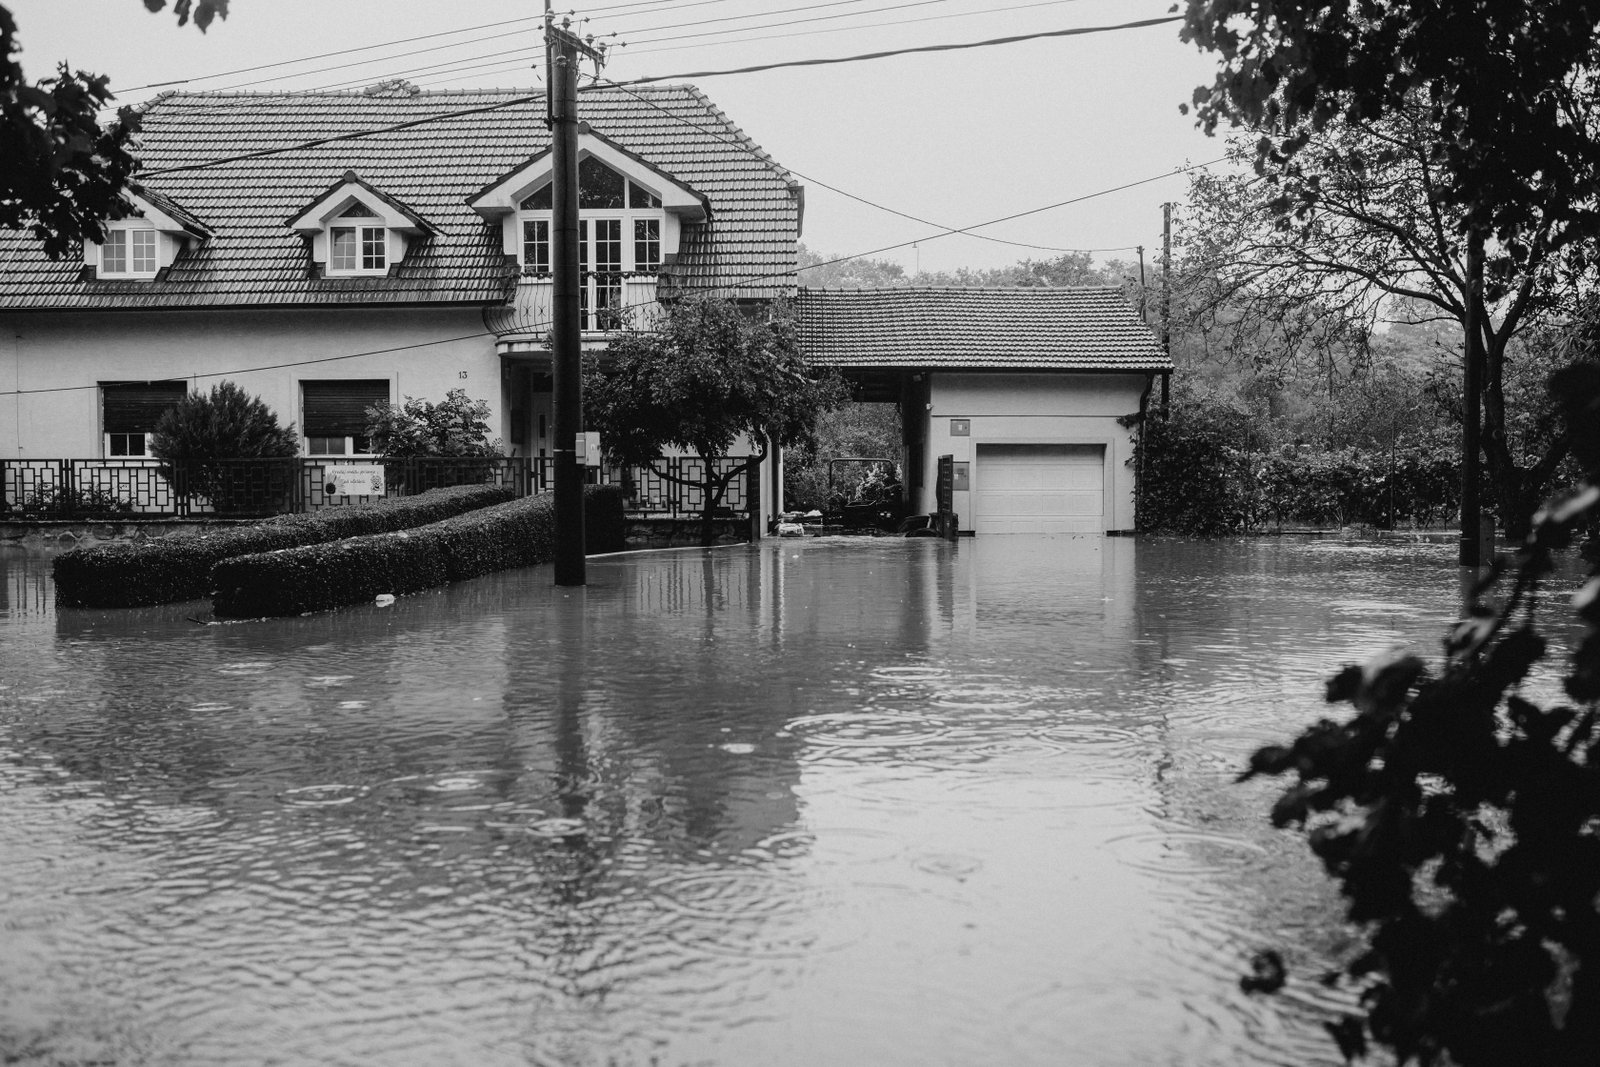
Also check for sub-limits and exclusions. Many policies cap payouts for specific categories, like jewelry, cash, or certain electronics, and standard home policies generally do not cover flood damage, which usually requires a separate flood policy, or earthquake damage, which usually requires a separate endorsement or policy. If your loss involves flooding, the adjuster’s first question will often be whether you hold flood coverage, and the answer determines the whole path of the claim. Knowing this before you file saves a painful surprise.
The Adjuster Visit: How to Prepare and What Happens
The adjuster visit is the centerpiece of most claims. The adjuster inspects the damage, takes their own photos and measurements, reviews your documentation and inventory, and asks how the loss happened. Prepare by having your photos, inventory, receipts, and a written timeline ready, and by making a list of questions. Walk the property with the adjuster if you can, pointing out damage that is easy to miss, like water stains inside closets, warped flooring under rugs, or roof damage visible only from a certain angle. Adjusters handle many claims, and a guided walkthrough helps yours get full attention.
Be honest and factual, and do not guess about causes or costs you are unsure of. If you do not know when a leak started, say so rather than inventing a date. If a contractor has already given you an opinion, share it, but label it as the contractor’s view. Adjusters are trained to spot exaggeration, and credibility is worth more than any single line item. At the same time, do not minimize damage out of politeness. If a room smells of smoke, if a floor bounces where it did not before, or if a wall is damp behind paint, say so plainly and show it.
After the visit, the adjuster typically prepares an estimate and a settlement offer, though the timing varies from days to weeks depending on complexity and workload. Ask when you can expect the estimate, how it will be sent, and what to do if you disagree with any part of it. Keep every letter, email, and estimate, and keep a log of calls, including dates, names, and what was promised. That file is your memory of the claim, and it becomes essential if anything is disputed later.
Repair Estimates: Getting Numbers You Can Trust
Insurers usually base payment on an estimate of reasonable repair costs, often prepared with standardized estimating software. You are generally free to get your own contractor estimates, and doing so is wise, especially for larger repairs. Get at least two written, itemized estimates from licensed local contractors, and compare them line by line with the adjuster’s estimate. Differences often come down to scope, a missing line item, a different material grade, or local labor rates, and a polite, specific comparison usually resolves more than a general complaint that the offer feels low.
Be careful about signing repair contracts before the claim is settled, and about contractors who promise to get the insurer to pay whatever they charge. The insurer pays what it determines is reasonable and covered, not whatever a contractor bills. If your contractor’s estimate is higher than the adjuster’s, ask the contractor to explain the difference in writing, and share that explanation with the adjuster. Supplemental claims for additional damage discovered during repairs are common and legitimate, but they need documentation too, so photograph anything new as soon as it is found.
Actual Cash Value vs Replacement Cost: The Payment Difference
One of the most important distinctions in a home claim is between actual cash value and replacement cost. Actual cash value, or ACV, is roughly what an item or a damaged part of your home is worth today, taking depreciation into account. A ten-year-old roof or a seven-year-old sofa is worth less than a new one, and ACV payment reflects that. Replacement cost, or RC, is what it costs to repair or replace the item with a new one of similar kind and quality, without deducting for depreciation, subject to your policy limits.
Many policies pay ACV first and then release the remaining replacement cost, called recoverable depreciation, after repairs are completed and receipts are submitted. As an illustration, suppose a damaged roof section costs $15,000 to replace, and the insurer calculates $5,000 of depreciation. You might first receive $10,000 minus your deductible, and then the remaining $5,000 after the work is done and documented. If you never complete the repairs, you may never receive the recoverable portion, so the payment structure itself encourages finishing the job.
Check which basis your policy uses for the dwelling and for personal property, because they can differ. A policy might offer replacement cost for the structure but only actual cash value for belongings, or vice versa. If you have replacement cost coverage, keep every repair receipt and submit them promptly, because recoverable depreciation often has a time limit for claiming it, sometimes one to two years from the loss, depending on the policy and state rules. Missing that deadline can mean leaving real money unclaimed.
Claim Timeline: How Long Each Stage Usually Takes
Simple claims, like a broken window or a small water loss with clear documentation, can sometimes be settled within a few weeks. Larger or more complex claims, like a roof replacement after a hurricane or a fire affecting multiple rooms, commonly take one to three months, and claims involving widespread disasters, disputes over scope, or additional damage found during repairs can take longer. Your state may also set deadlines for insurers to acknowledge claims, investigate, and pay undisputed amounts, so the timeline is not entirely at the insurer’s discretion.
A rough sequence looks like this. Days one to three: report the claim, document damage, and take temporary protective steps. Week one to two: adjuster contact and inspection, sometimes with a contractor or engineer for complex damage. Weeks two to six: estimate preparation, settlement offer, and any negotiation over scope or pricing. Weeks six onward: repairs, submission of receipts for recoverable depreciation, and final payment. Delays usually come from missing documentation, contractor backlogs after storms, or disagreements about what caused the damage or how much repair is needed, rather than from any single dramatic event.
You can keep things moving by responding promptly to requests, sending documents in the format the adjuster asks for, and following up in writing when a promised date passes. If the insurer requests an examination under oath, a recorded statement, or extensive additional documentation, cooperate but keep copies of everything you provide, and consider whether the request is proportionate to the claim. For very large or disputed claims, a public adjuster or an attorney can help, but both take a fee or a percentage, so understand the cost before hiring one.
What to Do If a Claim Is Denied or Underpaid
A denial or a low offer is not necessarily the end of the story, but it does call for a careful response. First, get the reason in writing. Insurers are generally required to explain denials, citing the policy provision or factual basis. Read that explanation against your actual policy, not against what you assumed the policy said. Common denial reasons include a cause that is excluded, like flood damage without flood coverage, a loss below the deductible, damage considered wear and tear or maintenance-related, or a missed deadline for reporting.
If you believe the denial or the amount is wrong, gather the evidence that addresses the specific reason. That might mean a contractor’s written opinion on the cause, additional photos, a second estimate, receipts, or an engineer’s report for structural questions. Send a written appeal or request for reconsideration, referencing your claim number, attaching the evidence, and asking for a specific review. Keep the tone factual and organized. A clear, documented challenge is far more effective than an angry phone call, and it creates a record if the dispute escalates.
If the internal appeal does not resolve it, options vary by state and claim size. Your state insurance department can take complaints and sometimes mediate, and many policies include an appraisal clause, a formal process where each side hires an appraiser and the two appraisers choose an umpire to settle the value dispute. For larger claims, consulting an attorney who handles insurance disputes, often for a free initial review, can clarify whether litigation or a regulatory complaint makes sense. Do not sign a release or accept a final settlement you believe is wrong just to end the process, because releases are hard to undo once signed.
Mistakes That Delay Claims
Most claim delays are not caused by insurers acting in bad faith. They are caused by ordinary, avoidable mistakes. The most common is discarding damaged items before the adjuster sees them, which removes the evidence the claim depends on. Next is starting permanent repairs too early, which has the same effect on a larger scale. A third is poor documentation: no photos, no inventory, no receipts, and no log of conversations, which leaves the adjuster with little to work with and the homeowner with little to prove.
Other frequent mistakes include waiting too long to report the claim, which can raise questions about whether the damage is really from the event claimed, and failing to read the policy until after a loss, when it is too late to add flood coverage or raise a limit. Signing documents under pressure is another: assignment of benefits forms, contractor agreements, and settlement releases all have lasting consequences, and none of them should be signed in a driveway the day after a storm without reading them carefully and, for larger amounts, getting independent advice.
Finally, many homeowners hurt their own claims by being unreachable. Adjusters and contractors need access to the property and answers to questions, and a missed inspection appointment can add weeks. If you are displaced, make sure the insurer has a mobile number and an email address where you can actually be reached, and check both regularly. A claim file moves at the speed of its slowest response, and that is often the homeowner’s, not the insurer’s.
Frequently Asked Questions
How soon must I file a claim? Policies require prompt notice, and state rules often set outer deadlines, but the practical answer is as soon as it is safe and you have documented the damage. For a major storm affecting many homes, insurers expect a surge of claims over days and weeks, so a short delay is usually understandable. Waiting months without a good reason is where problems start, especially if further damage occurs in the meantime that could have been prevented.
Will filing a claim raise my premium? It can, though not always, and not by a predictable amount. Insurers consider claim history, claim type, and local risk when setting rates, and a single weather-related claim often has less effect than repeated claims or a liability claim. Some policies offer claim-free discounts that a claim can reduce. The fear of a rate increase should not stop you from filing a legitimate, significant claim, but it is a reasonable factor for very small losses close to your deductible, where the payout may be minimal anyway.
Can I choose my own contractor? Generally, yes. Insurers may suggest contractors from their networks, and using one can simplify the process, but you are usually free to hire your own licensed contractor. The insurer pays based on reasonable, covered costs, not necessarily on your contractor’s full invoice, so get the scope and pricing agreed in writing before work starts, and keep the adjuster in the loop if the scope changes.
What if I disagree with the adjuster’s estimate? Start by asking for the estimate in writing and comparing it line by line with your own contractor’s estimate. Point out specific missing items or pricing differences, with photos and documentation, and ask for a revised estimate or a re-inspection. If that does not resolve it, ask about the policy’s appraisal clause, file a complaint with your state insurance department, or consult a professional. Keep everything in writing from this point on.
Does home insurance cover mold after water damage? It depends on the cause and the policy. Mold resulting from a covered sudden loss, like a burst pipe that is promptly addressed, is often covered within limits, while mold from long-term leaks, neglect, or flooding usually is not. Some policies cap mold remediation at a specific dollar amount. If mold is a concern, document it, address the moisture source quickly, and ask your insurer specifically how your policy treats it before paying for remediation yourself.
Conclusion
Filing a home insurance claim is a process, not a single phone call. Safety first, documentation second, temporary protection third, and then a steady sequence: report the claim, meet the adjuster, compare estimates, understand whether you are being paid actual cash value or replacement cost, and follow through on repairs and receipts. Knowing your deductible and limits before a loss, keeping a home inventory, and keeping a written log during the claim will do more for your outcome than any single clever tactic.
If damage happens, do not panic and do not rush. Take photos, make the home safe, call your insurer, and work the steps in order. Most claims, handled patiently and with good documentation, end with repairs paid and the home restored. And if a claim is denied or underpaid, remember that a written, evidence-based appeal, and the state and appraisal options behind it, give you real recourse. The policy you paid for is a contract, and understanding it is the best protection you have.
Disclaimer: This article is general educational information only, not personal financial or legal advice. Home insurance policies, deadlines, and rules vary by insurer and state, so read your own policy and consider speaking with a licensed insurance or legal professional about your specific claim.